How to create a perfect bulletproof call-to-action button for your email template
All possible options of creating CTA buttons for email templates.

To begin with, there is no way to create a perfect button. Many tears have been shed in this struggle between marketers, graphic designers, and web-developers. There always has to be a compromise between appearance and compatibility. I'm sure you wouldn't be surprised if I’d say that the main culprit of this tragedy is the family of Microsoft Outlook mail clients. Follow me through this saga of trying to find the perfect solution to create a CTA button in your email template.
Button is a Link
No, we will not use tag <button> or <input type="submit" value="My Button" />. Trust me, it doesn't work in many email clients. You would lose the fight with a marketer immediately if you decide to use this option. The best way of creating a button is using tag <a>.
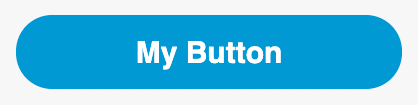
<a href="https://mybwesite.com">My Button</a>It works in any mail client. But it doesn't look like a button. Of course, we can use CSS style to improve it:
<a href="https://mybwesite.com"
  style="background-color: #5096D3; color: #ffffff; font-family: sans-serif; font-size: 15px; padding: 10px 60px; border-radius: 50px; font-weight: bold"
>
  My Button
</a>
Doesn’t it look so nice and easy? But hold on, what about Microsoft Outlook? Here the first problem awaits us. Outlook doesn't recognize padding style in <a> tag.
 In many mail clients
 In Microsoft Outlook
Let's try to find a solution using a wide border or putting the button inside the table cell with padding.
Border-based button
In this option, I added a wide border in CSS style with the background color.
<a href="https://mybwesite.com"
  style="background-color: #5096D3; color: #ffffff; font-family: sans-serif; font-size: 15px; text-decoration: none; border-radius: 50px; font-weight: bold; border-top: 10px solid #5096D3; border-bottom: 10px solid #5096D3; border-left: 60px solid #5096D3; border-right: 60px solid #5096D3; display: inline-block;"
>
  My Button
</a>
In Microsoft Outlook
This is definitely not what I wanted. The thing is, Outlook reduces the size of the borders by a small amount. Maybe the table cell with paddings will help us?
Table-cell-padding-based button
Let's create a table with one cell and put our button without borders into that cell.
<table width="100%" border="0" cellspacing="0" cellpadding="0">
<tr>
<td>
<table border="0" cellspacing="0" cellpadding="0">
<tr>
<td bgcolor="#5096D3" style="padding: 10px 60px 10px 60px; border-radius:30px" align="center">
<a href="https://mybwesite.com"
style="background-color: #5096D3; color: #ffffff; font-family: sans-serif; font-size: 15px; text-decoration: none; font-weight: bold"
>
My Button
</a>
</td>
</tr>
</table>
</td>
</tr>
</table>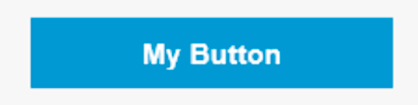 In Microsoft Outlook
Hmm. At least we got the required size of the button. We’ve encountered two problems: a) Outlook doesn't support border-radius at all; b) only the text of the button is clickable.
Button is an Image
I'm going to try a totally different way. I'll put an image inside the link.
<a href="https://mywebsite.com">
  <img width="150" src="https://cloud1.email2go.io/54229abfcfa5649e7003b83dd4755294/376d37b3b34ecd6a9e77a849afa4c160123cd4d69228ebd1189cf262e07e629e.png" />
</a>
Using images provides us with almost unlimited opportunities for graphic design. There’s just one problem. At least 1 out of 3 people have their email images turned off.
 Images turned on
 Images turned off
Button is a CID Embedded Image
Let's try the previous option but using a CID embedded image. Email2Go’s free HTML email template builder can help us with this.
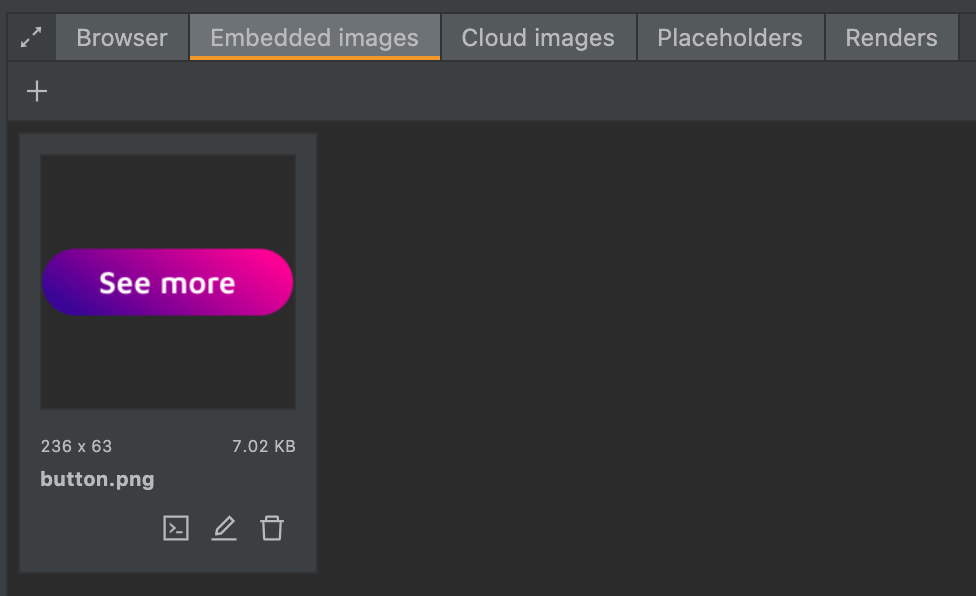 Embedded Image in Email2Go
<a href="https://mywebsite.com">
  <img width="150" src="cid:button.png" />
</a>Ta-da! Our button looks perfect! But we’re still not ready to rest just yet. We still haven't tried Vector Markup Language (VML)!
VML-based Button
This way is based on using the line-height and width properties of the link. For Microsoft Outlook, I'll create a VML layer using an Outlook-specific conditional comment. This option has a specific name––the Bulletproof Button.
<div>
  <!--[if mso]>
  <v:roundrect xmlns:v="urn:schemas-microsoft-com:vml" xmlns:w="urn:schemas-microsoft-com:office:word" href="#" style="height:41px;v-text-anchor:middle;width:200px;" arcsize="100%" stroke="f" fillcolor="#5096D3">
    <w:anchorlock/>
    <center>
    <![endif]-->
      <a href="#" class="button-a button-a-primary" style="background-color:#5096D3;border-radius:20px;color:#ffffff;display:inline-block;font-family:sans-serif;font-size:15px;font-weight:bold;line-height:41px;text-align:center;text-decoration:none;width:200px;-webkit-text-size-adjust:none;">
        Lorem ipsum
      </a>
    <!--[if mso]>
    </center>
  </v:roundrect>
  <![endif]-->
</div>
In many mail clients
 In Microsoft Outlook
Despite the need to specify button sizes in absolute values, this is probably the best option if you need to create a button with rounded corners.
and test them on dozens of different devises and mail apps START NOW


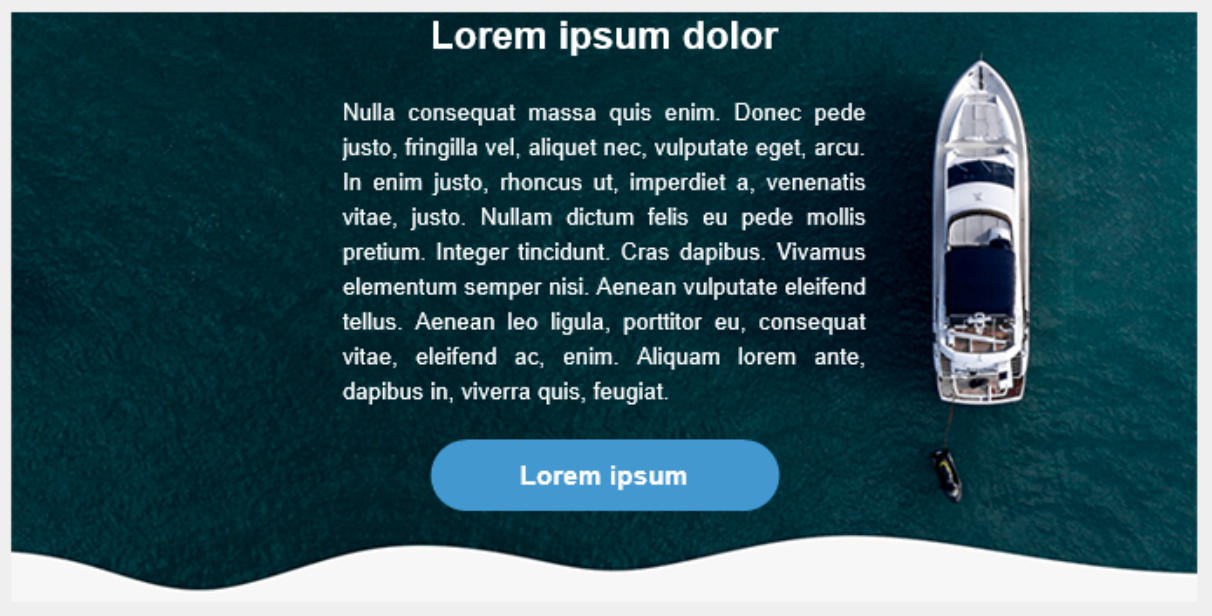
Bulletproof VML-based Button above a Background Image
There is only one way to create a background image compatible with Microsoft Outlook, it's using a VML container. In this case, we have to put a VML container with our button inside another VML container with the image. It's a problem because Outlook positions the inner container at the left top corner of the outer one. I have found one way how to fix this, though, to set left and top values for the button container relative to the image container. It's not a very beautiful solution, but it works.
<body width="100%" style="margin: 0; padding: 0 !important; mso-line-height-rule: exactly; background-color: #EFEFEF;">
  <center role="article" aria-roledescription="email" lang="en" style="width: 100%; background-color: #EFEFEF;">
    <!--[if mso | IE]>
    <table role="presentation" border="0" cellpadding="0" cellspacing="0" width="100%" style="background-color: #EFEFEF;">
    <tr>
    <td>
    <![endif]-->

    <div style="max-width: 680px; margin: 0 auto;" class="email-container">
      <!--[if mso]>
      <table align="center" role="presentation" cellspacing="0" cellpadding="0" border="0" width="680">
      <tr>
      <td>
      <![endif]-->

      <!-- Email Body : BEGIN -->
      <table role="presentation" cellspacing="0" cellpadding="0" border="0" width="100%" style="margin: auto;">


        <!-- 1 Column Text : BEGIN -->
        <tr>
          <td style="text-align: center; background-image: url('cid:back_2.png'); background-color: #6f94d4; background-position: center center !important; background-size: cover !important; height: 338px">
            <!--[if gte mso 9]>
            <v:image xmlns:v="urn:schemas-microsoft-com:vml" fill="true" stroke="false" style=" border: 0;display: inline-block; width: 680px; height: 338px;" src="cid:back_2.png" />
            <v:rect xmlns:v="urn:schemas-microsoft-com:vml" fill="true" stroke="false" style=" border: 0;display: inline-block;position: absolute; width: 680px; height: 338px;">
            <v:fill  opacity="0%" color="#f7901e"  />
            <v:textbox inset="0,0,0,0">
            <![endif]-->
            <div >
              <table role="presentation" border="0" cellpadding="0" cellspacing="0" width="100%" style="margin: 0; height: 338px; box-sizing: border-box;">
                <tr>
                  <td></td>
                  <td style="text-align: center; padding: 0 0 0 0; vertical-align: top; height: 338px; width: 300px; box-sizing: border-box;">
                    <h1 style="margin: 0 0 20px 0; font-size: 22px; color: #ffffff;">
                      Lorem ipsum dolor
                    </h1>
                    <p style="margin: 0 0 30px 0; font-size: 13px; text-align: justify; color: #ffffff; line-height: 20px;">
                      Nulla consequat massa quis enim. Donec pede justo, fringilla vel, aliquet nec, vulputate eget,
                      arcu. In enim justo, rhoncus ut, imperdiet a, venenatis vitae, justo. Nullam dictum felis eu
                      pede mollis pretium. Integer tincidunt. Cras dapibus. Vivamus elementum semper nisi.
                      Aenean vulputate eleifend tellus. Aenean leo ligula, porttitor eu, consequat vitae, eleifend ac,
                      enim. Aliquam lorem ante, dapibus in, viverra quis, feugiat.
                    </p>
                    <!-- BUTTON : BEGIN -->
                    <div>
                      <!--[if mso]>
                      <v:roundrect xmlns:v="urn:schemas-microsoft-com:vml" xmlns:w="urn:schemas-microsoft-com:office:word" href="#" style="left: 240px; top: 245px; height:41px;v-text-anchor:middle;width:200px;" arcsize="100%" stroke="f" fillcolor="#5096D3">
                        <w:anchorlock/>
                        <center>
                        <![endif]-->
                          <a href="#" class="button-a button-a-primary" style="background-color:#5096D3;border-radius:20px;color:#ffffff;display:inline-block;font-family:sans-serif;font-size:15px;font-weight:bold;line-height:41px;text-align:center;text-decoration:none;width:200px;-webkit-text-size-adjust:none;">
                            Lorem ipsum
                          </a>
                        <!--[if mso]>
                        </center>
                      </v:roundrect>
                    <![endif]-->
                    </div>
                    <!-- BUTTON : END -->

                  </td>
                  <td></td>
                </tr>
              </table>
            </div>
            <!--[if gte mso 9]>
            </v:textbox>
            </v:fill>
            </v:rect>
            </v:image>
            <![endif]-->
          </td>
        </tr>

        <!-- 1 Column Text: END -->

      </table>
      <!-- Email Body : END -->

      <!--[if mso]>
      </td>
      </tr>
      </table>
      <![endif]-->
    </div>


    <!--[if mso | IE]>
    </td>
    </tr>
    </table>
    <![endif]-->
  </center>
</body>
After all our suffering with VML code, we finally have our reward.
 In Microsoft Outlook
Conclusion
As I said before, there is no perfect and universal code for email buttons. I recommend using the most appropriate approach for your template. If you don't need rounded corners, use Border-based or Table-cell-padding-based buttons. Also, the Image-based button is not the worst option, especially if complex graphic design is required. Just remember, the Microsoft Windows Mail App doesn't display images located above other ones even when images are turned on.
Do you know any other solutions? Post them in the comments below. This article will be updated as new ways are found. After all, we’re all in this together!